Raspberry Pi is a nifty little single board computer (SBC) introduced many years back. I started to have an interest in this palm sized computer last year while looking for some PC tinkering projects. It was the time when Raspberry Pi4 model B was launched with much advancement over its predecessor models that I decided to get hold of one. The price point was rather affordable although this model was more expensive than the earlier RPi models.
I got hold of the 4GB RAM model as I figure the more memory the better. I had a bunch of old PCs for my Linux tinkering projects and having more memory really improved performance. Nevermind the higher price, better to have more RAM than to regret later. And unlike a PC, you can’t upgrade the RAM! Of course now that makers have launched the 8GB RAM version this year, but 4GB RAM was good enough for a 32bit OS system.
There was a lot of documentation online from Raspberry Pi Foundation and many other websites. It took a while to wade through all the information and understand how to cobble things together.
Purchasing Raspberry Pi considerations
Here are some things to consider when purchasing a Raspberry Pi.
1. Power adapter – yes, you could reuse your phone charger to power up your RPi. The older models’ power requirements were quite low and you could get by with 1 Amp to 2 Amp. For the RPi4, you would need > 2 Amps, preferably 3 Amps. If you got the first RPi4 model like me, there was a fault with the power input that would cause certain mobile charger with auto power off to cut off power. The charger would mistakenly detect a non-existent battery was fully charged and cut off the power. The newer RPi4 models were rectified of this defect. So to be safe, I bought the official Raspberry power adapter which provided a 3 Amp power supply.
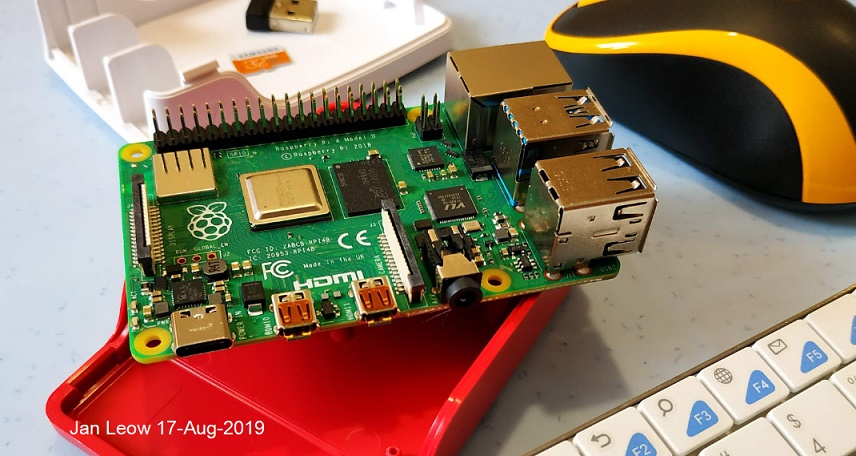
2. It’s cool to have a bare board on your table while tinkering. But using a case would keep the board protected. I got the official case, but it turned out the board overheats easily. So I went and got the armor casing where the case itself was a large heatsink to keep the RPi4 cool. There are many case designs in the market ranging from cheap to very expensive. Choose one with adequate cooling for the CPU and RAM is a must!
3. Micro HDMI cable connector and adapters to connect to my TV or PC monitor.
4. A good quality high speed microSD card with 32GB storage. There are so many ratings, and prices have come down a lot, so take a pick with class 10, UHS1, A1, V30, etc, ratings. If you plan to reuse your existing available, just make sure it was sufficiently fast. I had some class 4 and they were just woefully slow! I had a class 10 without the other additional ratings and it was adequate enough.
5. Of course, a mouse and keyboard. Wireless version would be better too! And finally WiFi or cabled LAN connectivity. Everything is online nowadays! I found having cable connection during installation was better due to its stable connectivity.
Next was to get the necessary OS to run it. There were so many to choose from! So for starters, the official Raspberry Pi OS would be the operating system of choice to get started. So head on to the Raspberry Pi official website and download NOOBS (New Out Of Box Software) with either the full version or the lite version.
The full version NOOBS is about 2GB and included is the Raspberry Pi OS and LibreELEC OS. Downloading the full version saves you the waiting time during install. The lite version of NOOBS would require downloading the OS into the microSD card during installation. Either way, you would need time for installation. So be prepared to take at least an hour or hours more for installation. And you might make a mistake or fail, and then redo the whole thing one more time! Well that’s what happened to me. A fast microSD card did help to speed up the installation as there was a quite a large amount of data to be written into the card.
After downloading NOOBS, just unzip the content into the microSD card. Slot it into the Raspberry Pi, boot it up and follow the on screen display.
When the installation was completed and if all went well you should be able to boot up and have your first run with the Raspberry Pi system!
After this you may get ambitious and try to multiboot and install various OS onto your microSD card if you don’t have so many to spare and not so willing to purchase more microSD cards. On the other hand getting additional microSD cards to experiment with the various OS would be a good idea too.
Enjoy!
1-Nov-2020